Creating and editing API connectors
You can create and edit API connectors from within Form Builder, or from the project Administration. Both methods are valid and will result in the same API connector being created. The only difference is that if you create an API connector from within the form, it will also be added to the form that you are currently working on.
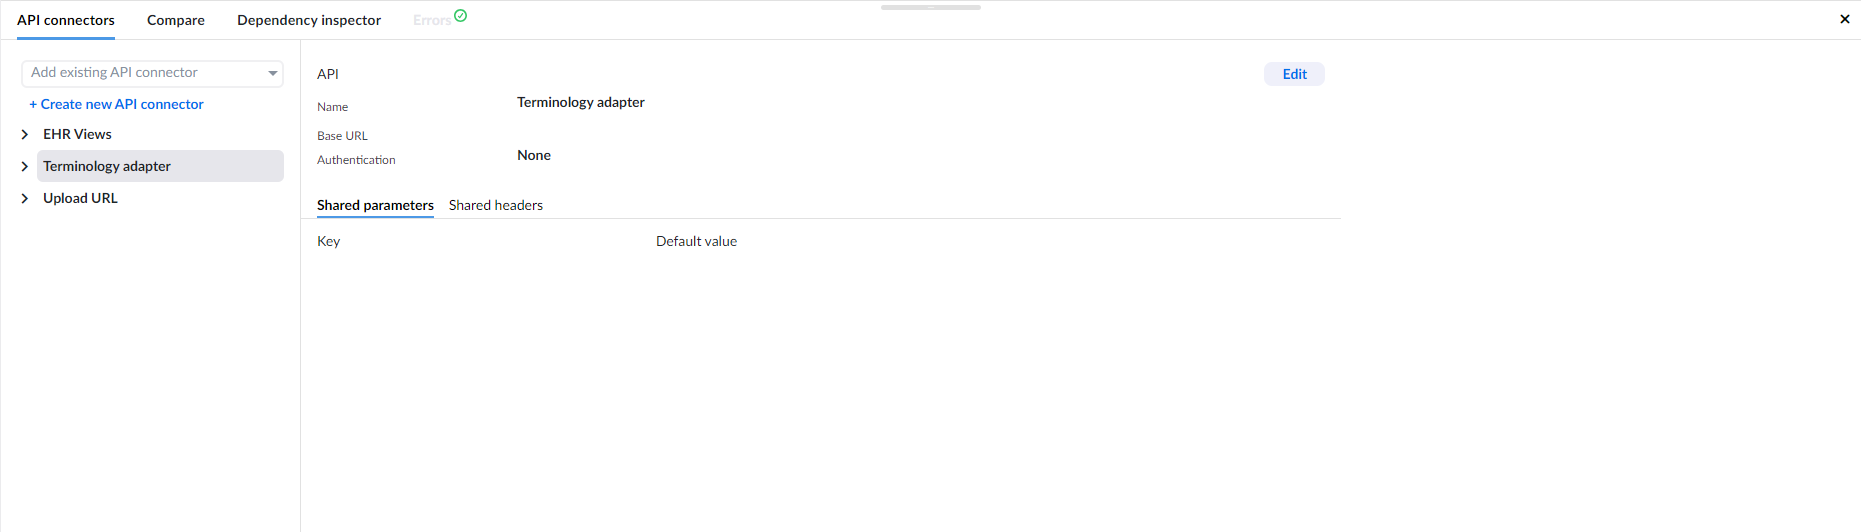
To create a new API connector, click the Create new API connector link. A new screen will be opened where you can add a new API connector.
For detailed instructions on how to create API connectors, please refer to the API connectors page.
Using API connectors in forms
API connectors can be added from the Bottom panel. Adding an API connector to a form makes it available for use in the form. If you have already created API connectors in your project, they will be available in the dropdown Add existing API connector.
To bind API data to a component's data, follow these steps:
- Add the API to the form using
Add existing API connectoror create a new API withCreate new API connector - In the Right panel, add an API data source, select the API call that returns the data you want to bind.
- In the source, select the list of data.
- Bind data: select which data element you want to show as a label and what data you want to save. For example, you want to show the patient's name, but you want to store the patient's unique ID.
Mock response
When using the mock response in an API call, you replace the data that the API call would return with your own mock data. These mock responses simulate, or 'mock', the behaviour of real responses and have similar characteristics to the authentic responses.
This allows you to quickly create prototypes or demos of complex forms that would otherwise rely on external API response data, which can sometimes be unpredictable and perhaps out of your control.
However useful, once you have created forms for actual production, you will most likely want to replace them with real data.
In the video below, we show you how to create and use a mock response.
Response for initialization
Response for initialization is used to tell the EHR Studio what to expect when the call is made, and allows you to bind values to fields without depending on a test call response.
This can either be an object with real data that has all of your parameters, or you can make it up, so you have a template on which to bind all of your necessary fields, but in run-time this will be replaced with actual data from the API call. Common use case is when you need to bind values when you are configuring the multimedia field.
When creating or configuring a POST API call, most of the time you can't post anything to the resource server since you can't provide all the necessary data for posting.
 However, when configuring a multimedia field,
you still need to know which fields the POST call accepts and what response it returns so you can properly bind it to the field.
However, when configuring a multimedia field,
you still need to know which fields the POST call accepts and what response it returns so you can properly bind it to the field.
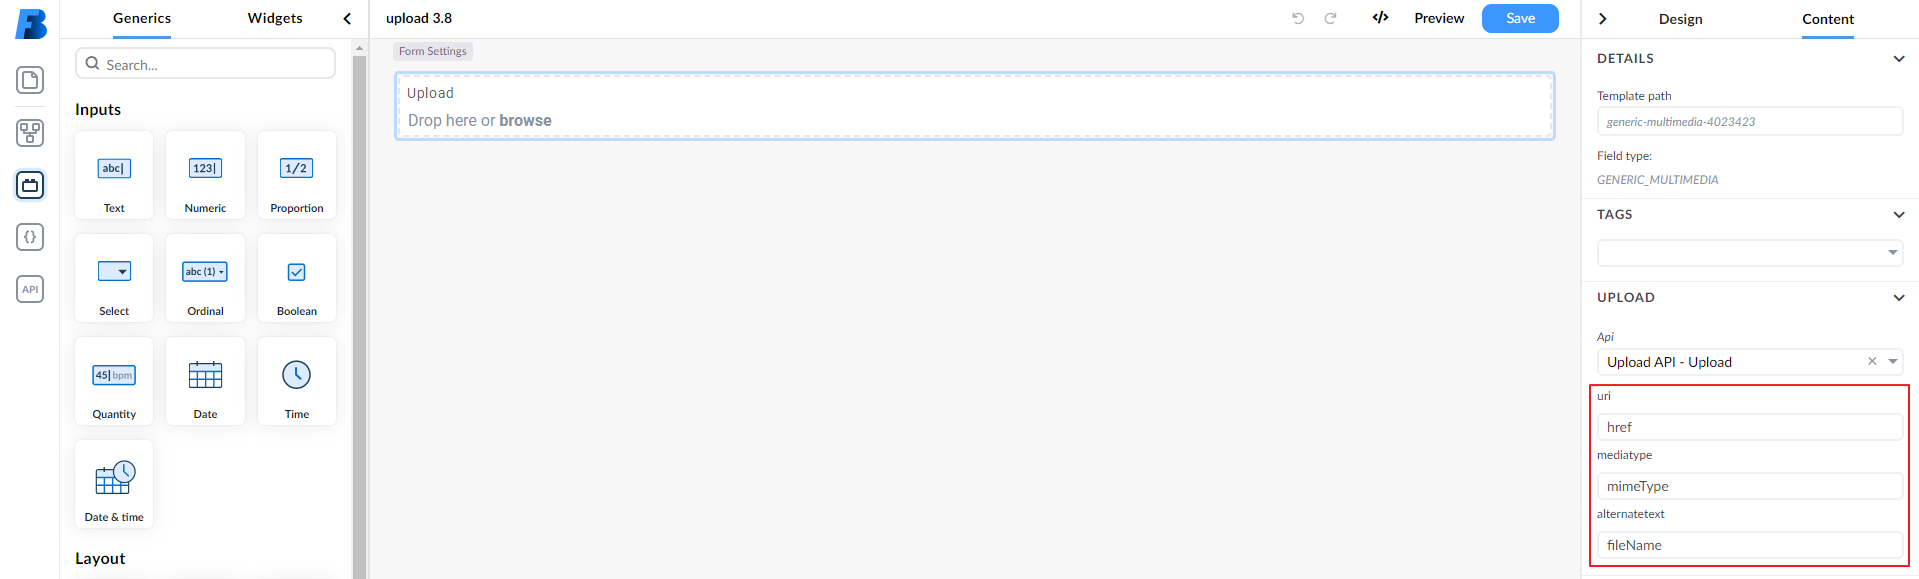
You can learn more about setting the upload field in the Upload section.
Another example is when you know that every call will not have all the values, but you still need an example with all key-value pairs, so you can bind them to the fields.
For further examples about using APIs in forms, see API examples.